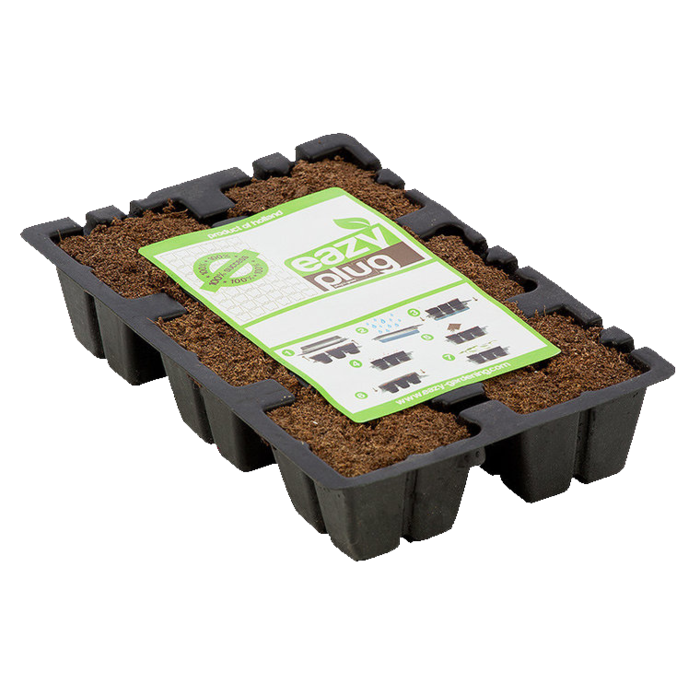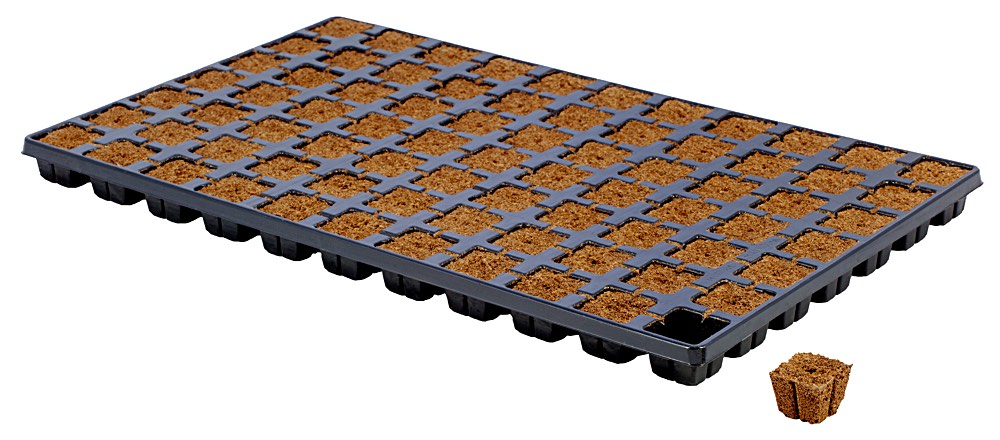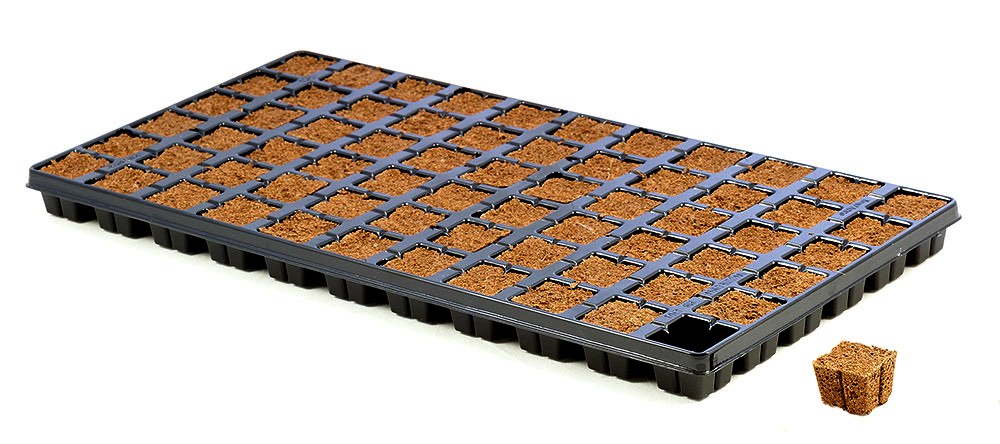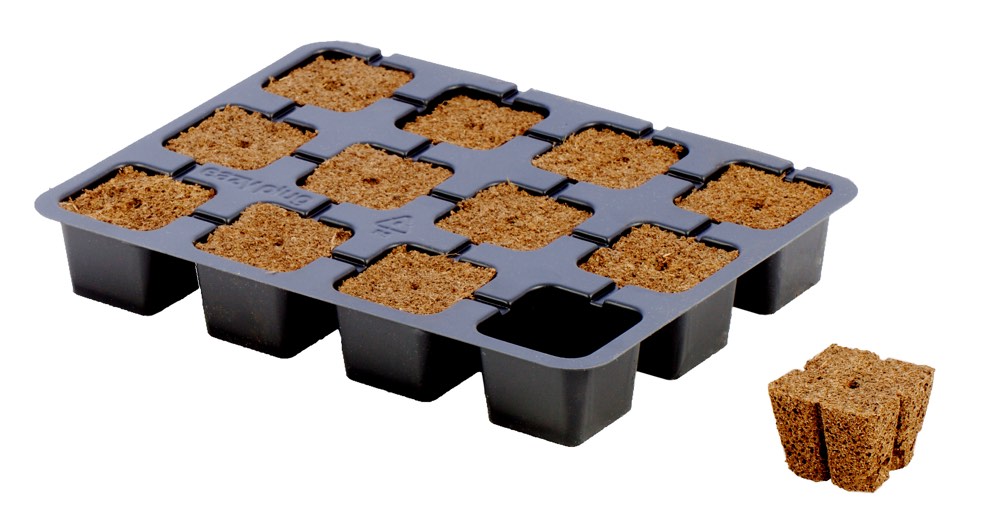
Eazy Plug Trays
Eazy Plug: 100% success rate
The rooting plugs of Eazy Plug have, with its organic materials and Eazy Plug's special way of bonding, a predetermined pH and EC value and a fixed air-to-water ratio. The Eazy Plug is very easy to use. Just make sure that the plug always can drain the excess water and you cannot overwater it. Because the growing conditions are always optimal, the Eazy Plug creates a very fast and powerful rooting and germination.
Easy to transplant
The Eazy Plug will always remain firmly bonded together as a whole. This minimises the risk on root damage during sorting, transplanting or replanting, thus preventing the plant from diseases.
Limitless shelf life
The Eazy Plug is supplied dried, making it clean and lightweight, with limitless shelf life and no risk of molds. It takes water back up very easily and quickly, retaining all of its former characteristics.
How to Use Eazy Plugs:
Step 1: Moisten Eazy Plug
Allow the Eazy Plugs to fully suck up water with a pH of 5.8.
Let it drain out excess water. Do not squeeze out or dry the plugs. Eazy Plugs are self-regulating and will only hold the water they need for an optimum moisture level and an optimum air-to-water ratio. The plug will feel much heavier than Rock-Wool, but that’s normal.
Step 2: Sow Seeds OR Take Cuttings
-
Sowing Seeds: Plugs with seed gap: Place the seed into the preformed seed gap. Cover the plug (including seed gap) with a thin layer of top soil (Eazy Mixx) of 1-2 mm. Cautiously spray water on top of top layer soil to moisten it thoroughly en to ensure a moistened seed and top layer soil.
Plug with cutting hole: In case of a cutting hole ensure the seed is not too deep and do not press it in too deep. You can break off a small corner of the plug and put it into the top of the hole to cover the seed, but that should never be more than a layer of about 5 mm. For most seed types this covering is not a necessity. After sowing, sprinkle the plug shortly with some water, to ensure the seed is wet. -
Taking Cuttings: Cut diagonally at a 45 degree angle just below a node or stem swelling, making sure to keep at least 3 nodes above your intersection.
Remove all but a couple of leaves. Scrape a little of the outer layer at the bottom of the cutting, but not all around. Cut off ⅓ of the top of remaining big leaves.If you want to make use of a rooting powder (for example Rhizopon), dip the base of your fresh cut cutting into the rooting powder.
Insert the cutting into the Eazy Plug cutting hole. Make sure to insert it deeply enough, completely to the bottom of the cutting hole.
Step 3: Put into propagator
Put the tray with Eazy Plugs into a propagator.
Close the lid of the propagator and shut any present air vents to keep the humidity inside the system.
Step 4: Assure drainage of excess water
Make sure Eazy Plug is able to drain excess water at all times, so it can always self-regulate the correct amount of moisture. Never let the bottom of the Eazy Plug touch water, as the moisture absorption of Eazy Plug is exceptionally good and the Eazy Plug will quickly become too wet, which will have a negative effect on the rate of success.
Step 5:
- (Seeds) Await germination: Until the first appearance of a seedling, you should always keep the Eazy Plug moist enough. The Eazy Plug itself contains sufficient moisture for germination and with the use of a completely closed propagator the moisture remains into the system and the Eazy Plug and seeds are not likely to dry in those first few days. Loss of moisture caused by an open lid or air vent can cause rapid dehydration, which can seriously effect your success rate.
-
(Cuttings) Remoistening and fresh air
Only remoisten the Eazy Plug after 3 days and keep on doing that every 3 days until the first appearance of roots. Briefly open the propagator every day for a little fresh air.
Open the air vents slightly at the earliest after 4-5 days. Humidity should remain above 80%, as too much loss of humidity can seriously effect your success rate.
Step 6: Open air vents
- (Seeds) Once seeds have germinated and a seedling has grown, one can gradually open the air vents in order to acclimate the seedling to a less humid environment.
- (Cuttings) After the first roots have developed, you can gradually open the air vents further in order to acclimate the cutting to a less humid environment.
Step 7: Transplant
- (Seeds) After germination the seedling will quickly grow its roots through the Eazy Plug. When the first roots have become visible, it is time to transplant your plug with seedling.
- (Cuttings) In 7-9 days from start your cutting should have grown its roots throughout the Eazy Plug and it is time to transplant them.
Germination conditions:
Seeds:
- Temperature: The optimum soil temperature for germinating seeds is 20-25 degrees Celsius. However, make sure that the seed itself is no warmer than 25 degrees Celsius. Take into account that most lamps generate radiant heat which raises the temperature of the seed itself to a higher level than the temperature of the air or soil. To avoid any risk, a seed temperature of 22-23 degrees Celsius is advisable. Above 25 degrees Celsius, you must consider a serious failure rate for most seed varieties.
- RH (humidity): RH of min. 80% is perfect for the seeds and Eazy Plug to not dry out.
- Light: In general there are not a lot of seed varieties where light is an absolute requirement for germination. For most seed types, the application of an additional light source will only lead to a risks of excessive heat development of the seed (radiant heat) and dehydration of both seed and plug. Just daylight or even a dark room situation will be OK for most seed types to germinate. Should you decide to put in an additional light source, then realize that most seeds only need very little light of a certain color.
Cuttings:
1. Temperature: The optimum soil temperature for striking roots is 22º Celsius. Above 23º Celsius, you must consider a rise in failure rate.
2. RH (humidity): RH of 80-95% is perfect. As the cutting needs its energy for striking roots, the moisture level of leaves and stem should remain intact.
3. Light: In the first few days the cutting will form callus, from which the roots will start to grow. In this phase the cutting only needs tempered light with a broad spectrum (regular assimilation light). After the development of roots the amount of light can be gradually increased.

