The 'Vegepod': An incredible instant solution for that veggie garden you've been contemplating!

Over the last few years, my wife and I have embarked on a journey of sustainability. We're learning how to become more self sufficient - using our backyard to grow our own fresh produce.
When it comes to climactic conditions for growing fruit and vegetables, you could say we're quite fortunate! We live in the humid subtropics of North Brisbane, which gives us some wonderful seasonal circumstances to work with.
With that said, it isn't all peachy. One of the struggles we immediately encountered was the extremely poor quality of our soil. We live on a hill... and if you dig below the hard-pack topsoil, you'll find a mix of clay, sand, and shale rocks.
This is typical of the rolling hills in Brisbane (and many coastal regions across Australia), where the land has been weathered away by water over hundreds of millions of years. Whoever thought to build this city atop an ancient river basin wasn't considering how fertile my 21st Century backyard would be!
Exploring Our Alternatives For Gardening Outdoors

It pretty quickly became obvious to us that it was going to take tonnes of new soil, or years of gradual improvement, to make our backyard viable for food production. Determined to grow something, we started doing our research.
We trialled many different options - including some self-wicking hydroponics systems, some living soil in pots, and the humble Vegepod. After spending considerable time using the various options we had, it was immediately obvious that the Vegepod stood out from the rest - and in so many ways!
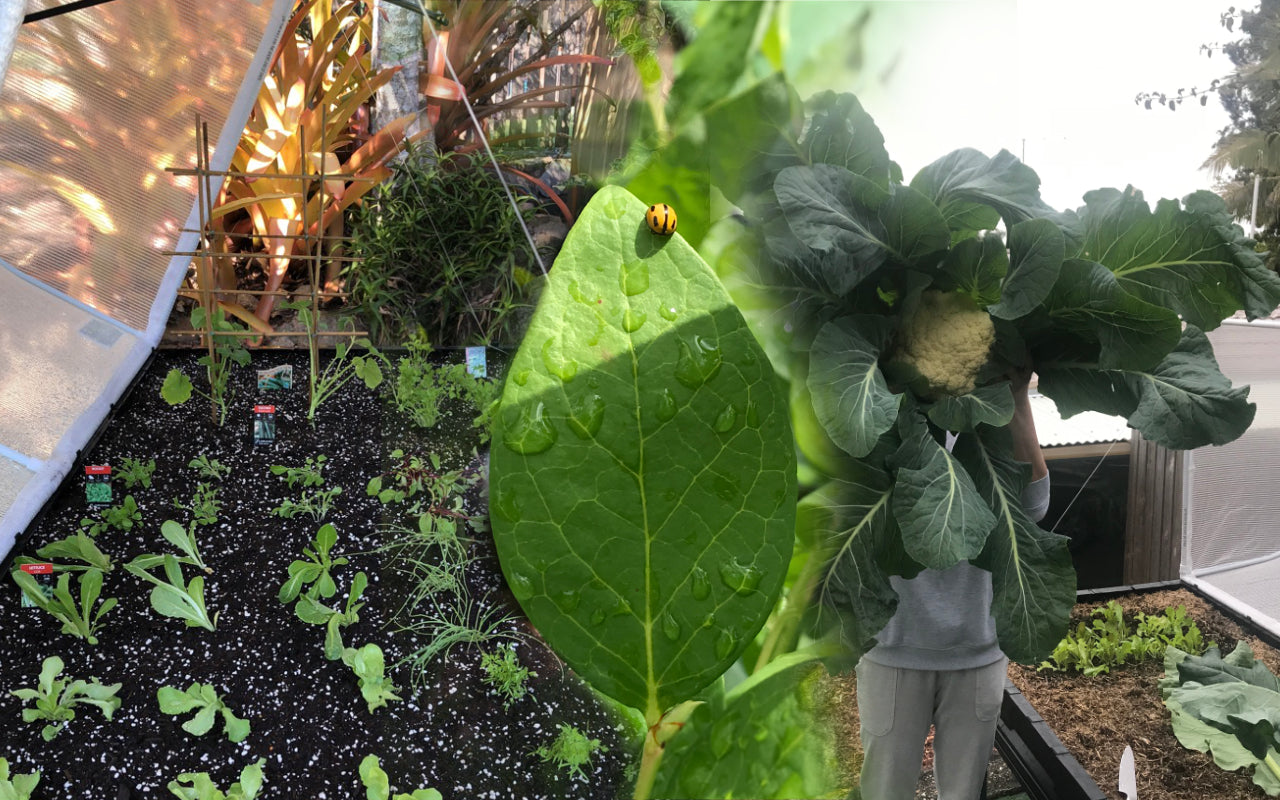
We had amazing success growing Lettuce, Pak Choi, Spring Onions, Cauliflower, Broccoli, Carrots, Basil, Thai Basil, and Rosemary! We were absolutely blown away with the results.

What I Love Most About Vegepods

- It's a fully-contained garden bed - I didn't need to spend time building one of my own!
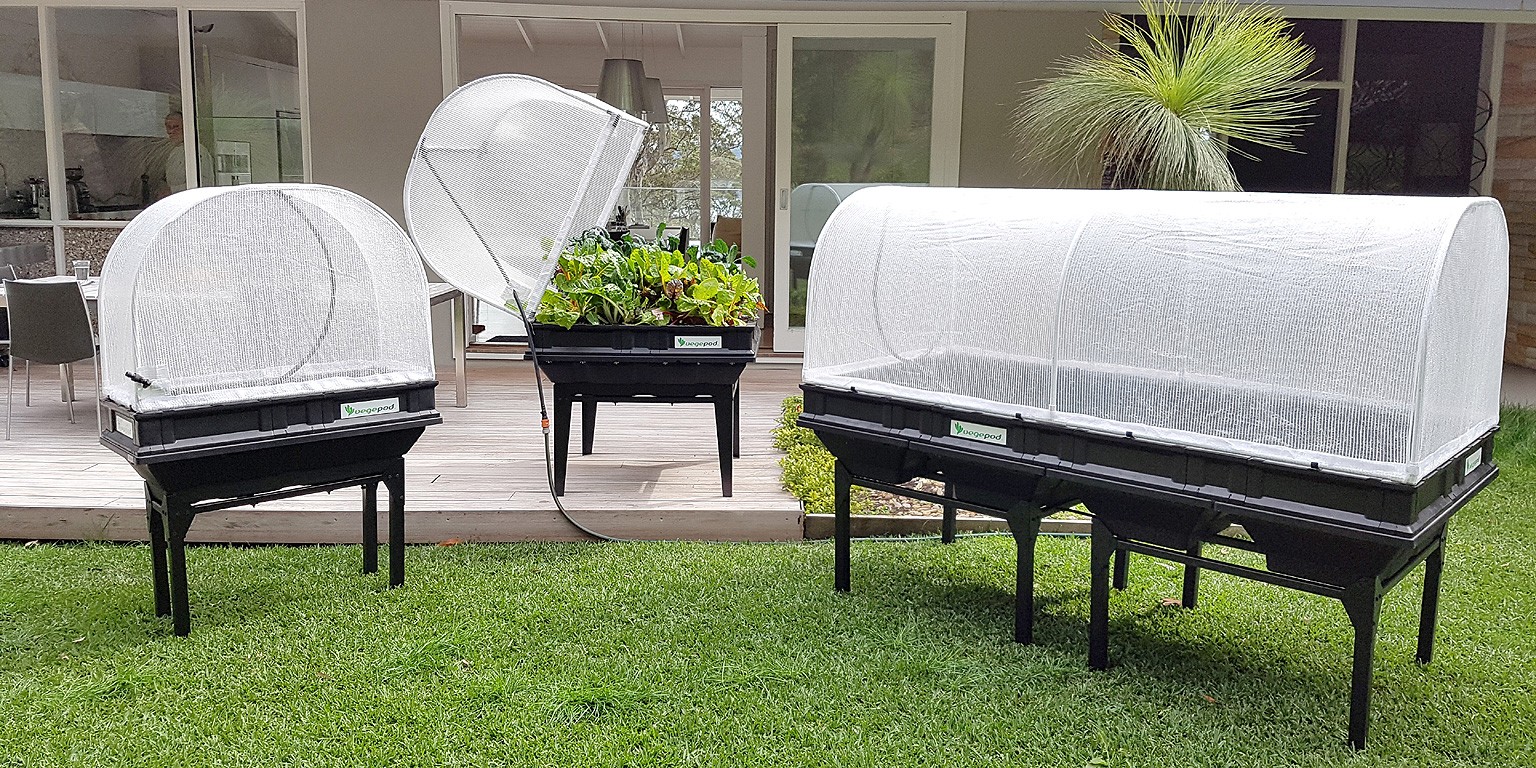
- The working height when used with the stand! The stands can be raised to waist height, so there's no kneeling in the dirt required!
- The ability to convert Vegepods into raised beds makes them so convenient to use. This is especially true with the large Vegepod stands, which fits lots and lots of fresh produce on a single stand!
- The ability to dig the stands into the side of the hill! You can utilise any form of sloping terrain with Vegepods, and still be left with a level raised garden.
- We were able to create a modular fruit and vegetable garden in a rental with no fuss. You can easily pack it up when you move houses... meaning your garden can move with you!
- The wicking bed - and the minimal watering/maintenance they require, as a result!
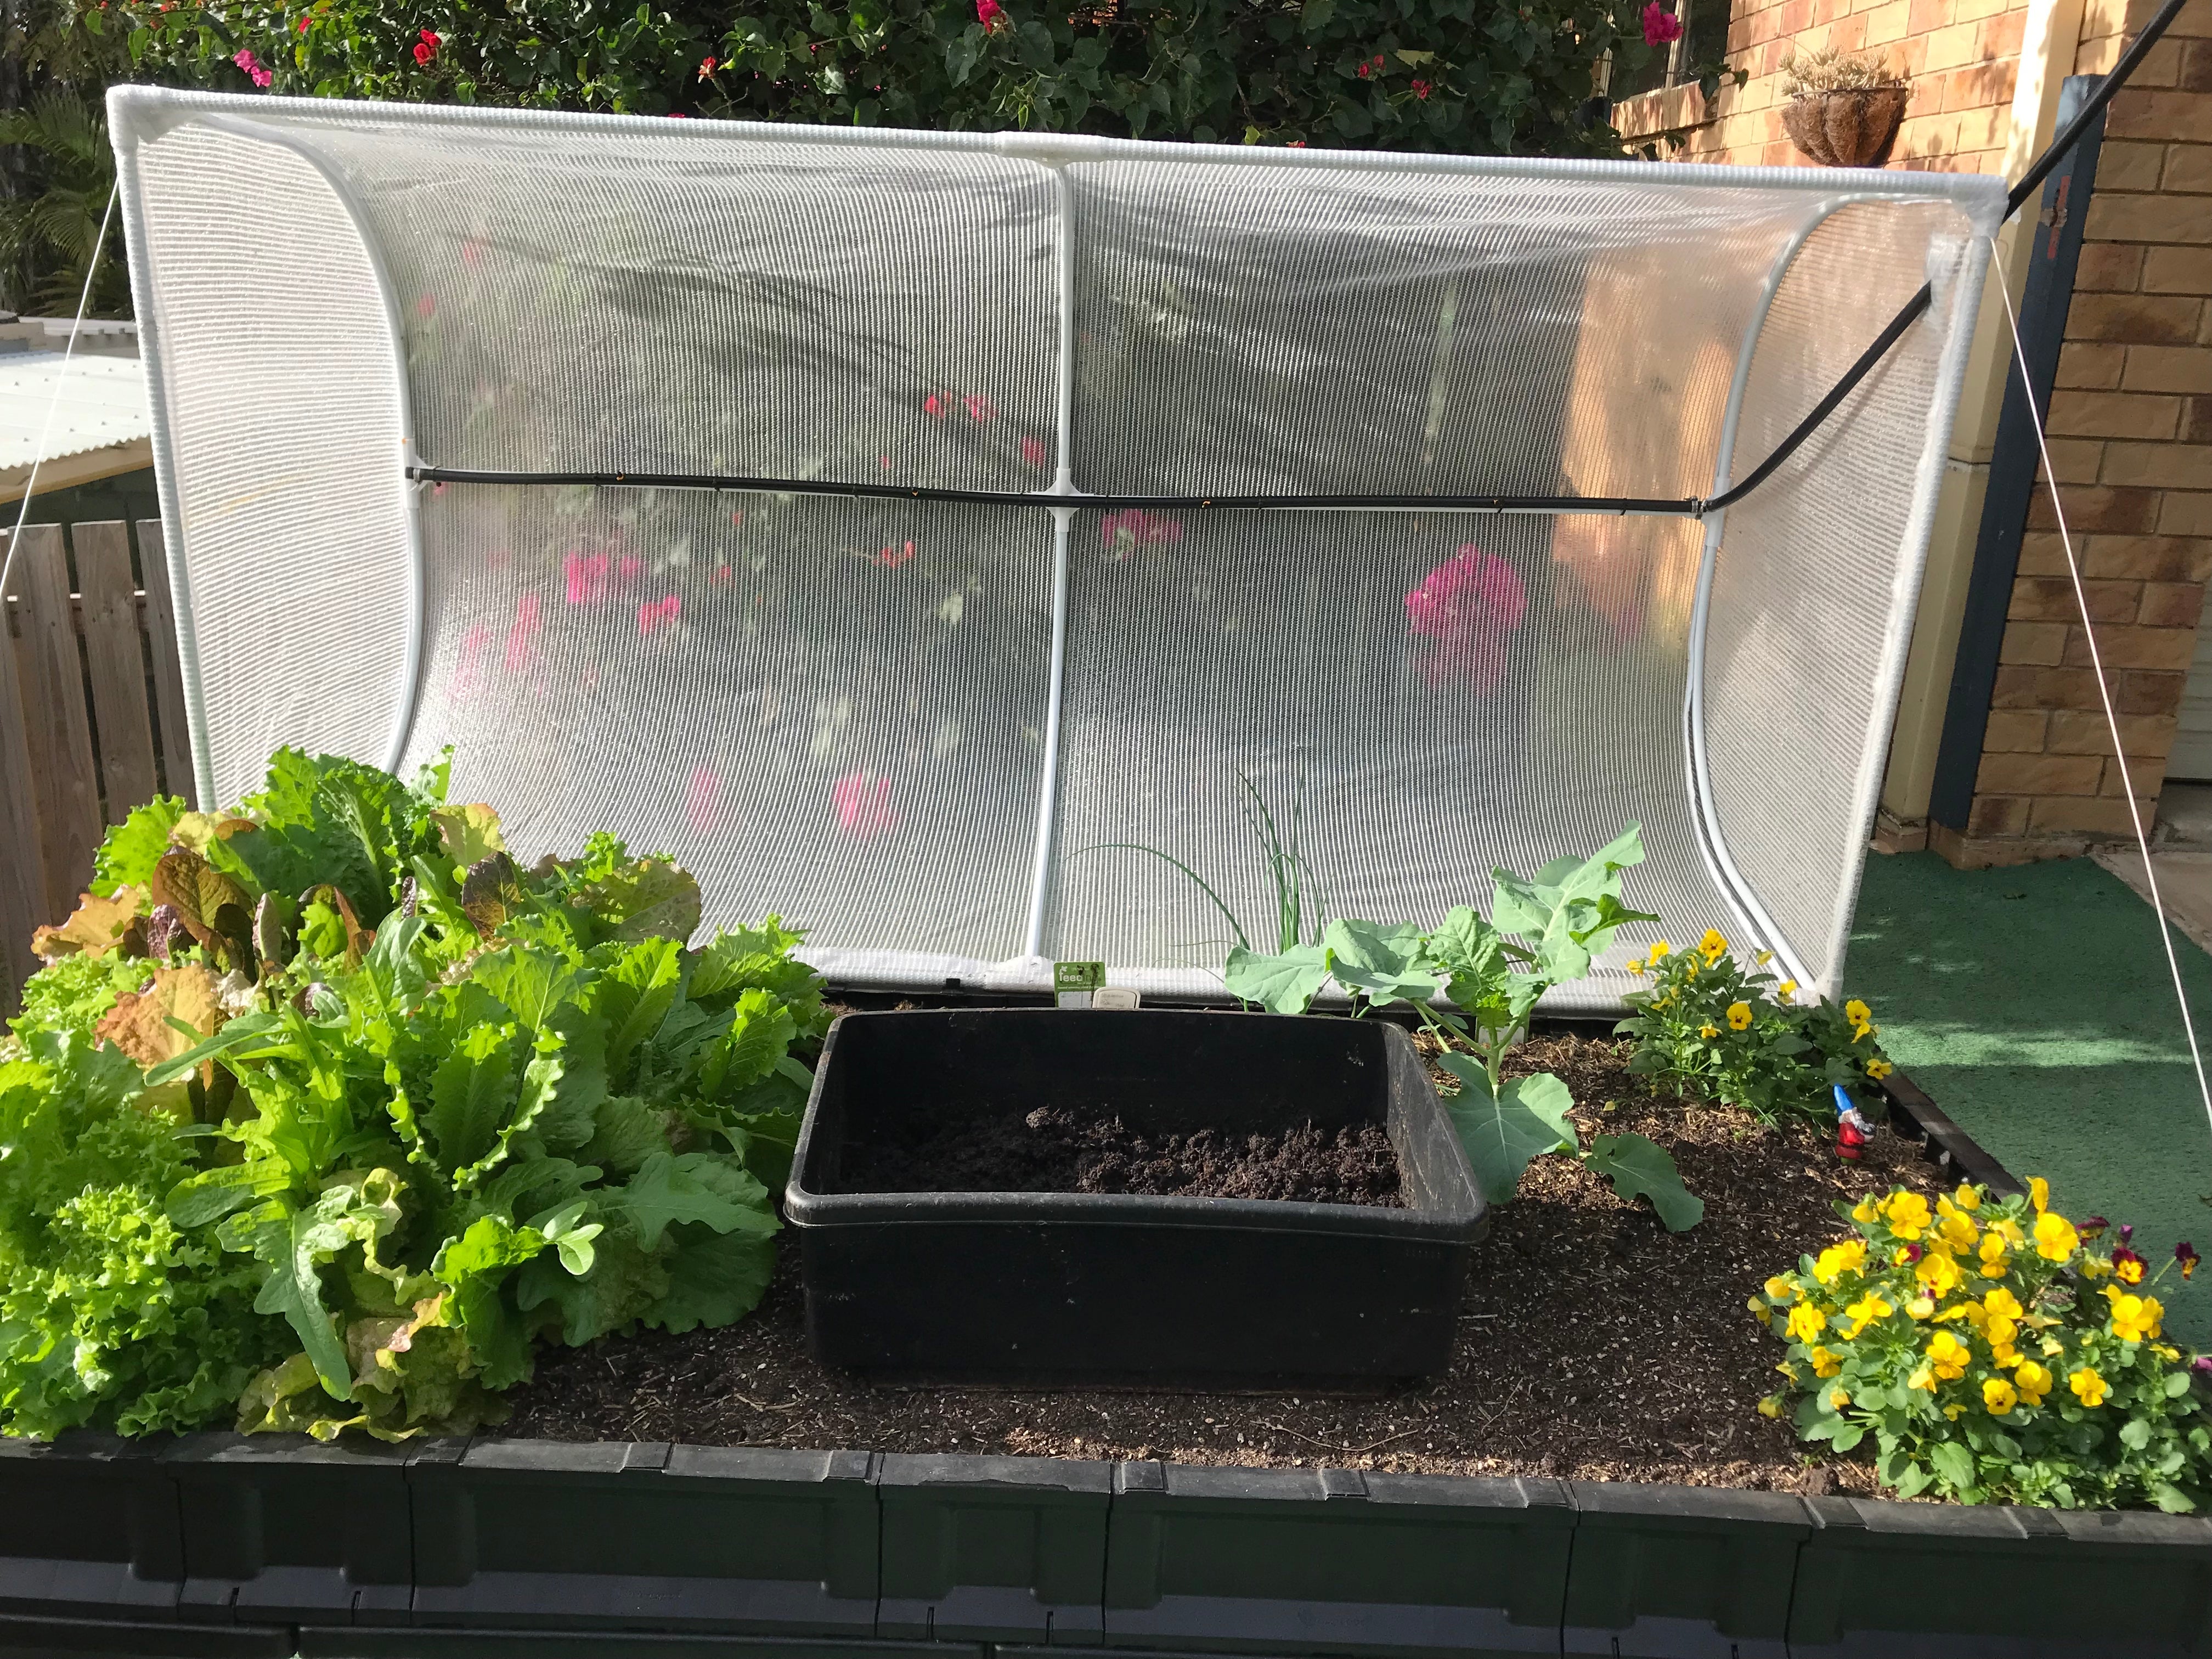
- The protection and shade provided by the cover. It's so easy to close when pests are out, and easy to open when bees and other friendly pollinators are around!
- The mist-spray watering attached to the cover itself! It's so convenient.

Things I Learned Along the Way About Vegepods

There are different ways to fill the garden bed with soil... but the way Vegepod suggests seems to work perfectly for me.
- You have to use Perlite in the bottom wicking section of the bed. This allows for nice, clean drainage - and a place for the water to stay.
- I recommend 100L of perlite in the base of the Large Vegepod, which has a total capacity of 400L.
- For the remaining 300L, I fill the Vegepod with a mixture:
- 100L Coco Coir (or Coco/Perlite)
- 100L of CANNA Terra - a beautiful soil structure with no plant food in it.
- I top it off with 100L of organic manure mix, a living soil, or something similar.
There are a few different ways to feed your plant organisms once you've planted your seeds into the pod:
- There are a range of liquid bottled nutrients that are relatively easy to use.
- Vegepod offers their own single-bottle, full-spectrum nutrient
- If you want to get experimental with some of the fantastic choices out there, Fran's Hydroponics stocks a huge range of plant nutrients. You can visit their online store (where they ship Australia-wide) or visit their Brisbane-based shopfront and speak to their lovely staff in-person!
After having trialled a wide range of different options, we've found a bulletproof way to feed.
- Our preferred option is to mix with organic, living soil, and focus on feeding the microbes and worms in the soil. The ecosystem does the rest... our plants grow so healthily using this strategy, and we end up with beautiful organic produce!
- We love using the Southern No Till range from Easy As Organics!
- We feed using Regenerate, Worm Castings, Insect Frass, Neem Meal, Kelp Meal, Mycorrhizae and Aloe Powder.
- We also incorporate Worm Juice we made into our scheduled waterings.

How To Grow Fresh Produce In Your Garden Using Vegepods!
We recommend picking up a Large Vegepod - we've found this gets the best results for large yields of fresh fruits and vegetables.
What You'll Need:
- Large Vegepod (x1)
- Large Vegepod Stand (x1)
- 100L Perlite (x1)
- 50L CANNA Terra Professional Soil (x2)
- 50L Coco or Coco / Perlite Mix (x2)
- 100L Easy As Organics Organic Living Soil/Manure/Compost (x1)
- Stefani Chlorine Filter (x1)
- Eazy Plugs
- Southern No Till
Fran's Hydroponics Vegepod Starter Packs!
Fran's Hydroponics have created Vegepod Starter Packs for the readers of this blog post! If you want to get started with your own outdoor vegetable garden, purchasing one of these could be the beginning of something wonderful for you!
The Vegepod Starter Pack features:
- 1 x Medium 1m x 1m Vegepod
- 1 x Medium Vegepod Stand
-
1 x 50L Bag of Canna Terra Professional Soil
-
1 x Bottle of Vegepod Booster
- The entire Southern No Till range (Neem Meal, Kelp Meal, Insect Frass, Mycobiome, Aloe Powder, Worm Castings, Insect Frass, Regenerate),
-
1 x 25L Bag of Easy As Organics Living Soil
- 1 x 50L Bag of Professor's Pure Coco/Perlite Blend
Buy your Ultimate Vegepod Starter Pack at our store today!
How To Use Vegepods

It's remarkably simple!
For assembling your pod, mixing your soil, and planting your seeds, you can follow the easy-peasy video tutorials provided by Vegepods. They also have user guides and an FAQ section on their website for any tough questions you may have - how good of them!
After you've set up your pods and planted your seedlings, you should give them a soak using the mist-spray for 20 minutes. This will wet the soil through and fill the reservoir/set the wicking system into action.

Varying climates will affect how much you need to water. In my experience, it's advised to water with the mist-spray for about 3 minutes over the next 7 to 10 days. If it rains during this period, then don’t bother watering at all.
After 10 days, the roots of your seedlings will have located the necessary water source for survival, and the reservoir will be full.
Each plant will also differ in terms of how much water it requires. Some plants like basil will send their roots into the reservoir itself. Only water very occasionally, at this stage. If it is winter and there is patchy rain, don’t water at all. If it is mid summer and 30 degrees with no rain in sight, give them 3 minutes everyday to avoid losing moisture in your reservoir.
You can be neglectful with Vegepods and still get tremendous growing results. We have seen Vegepods left for 6 weeks through January... and they're still just fine!
If you are going away for more than 2 weeks in the summer, I recommend you get yourself a 24hr tap timer (around $50) and have it come on daily for 2 or 3 minutes.
...and that's it! The Vegepod will do the rest. See: told you it was simple!

Added to your cart:
- (-)
